Jerry Wang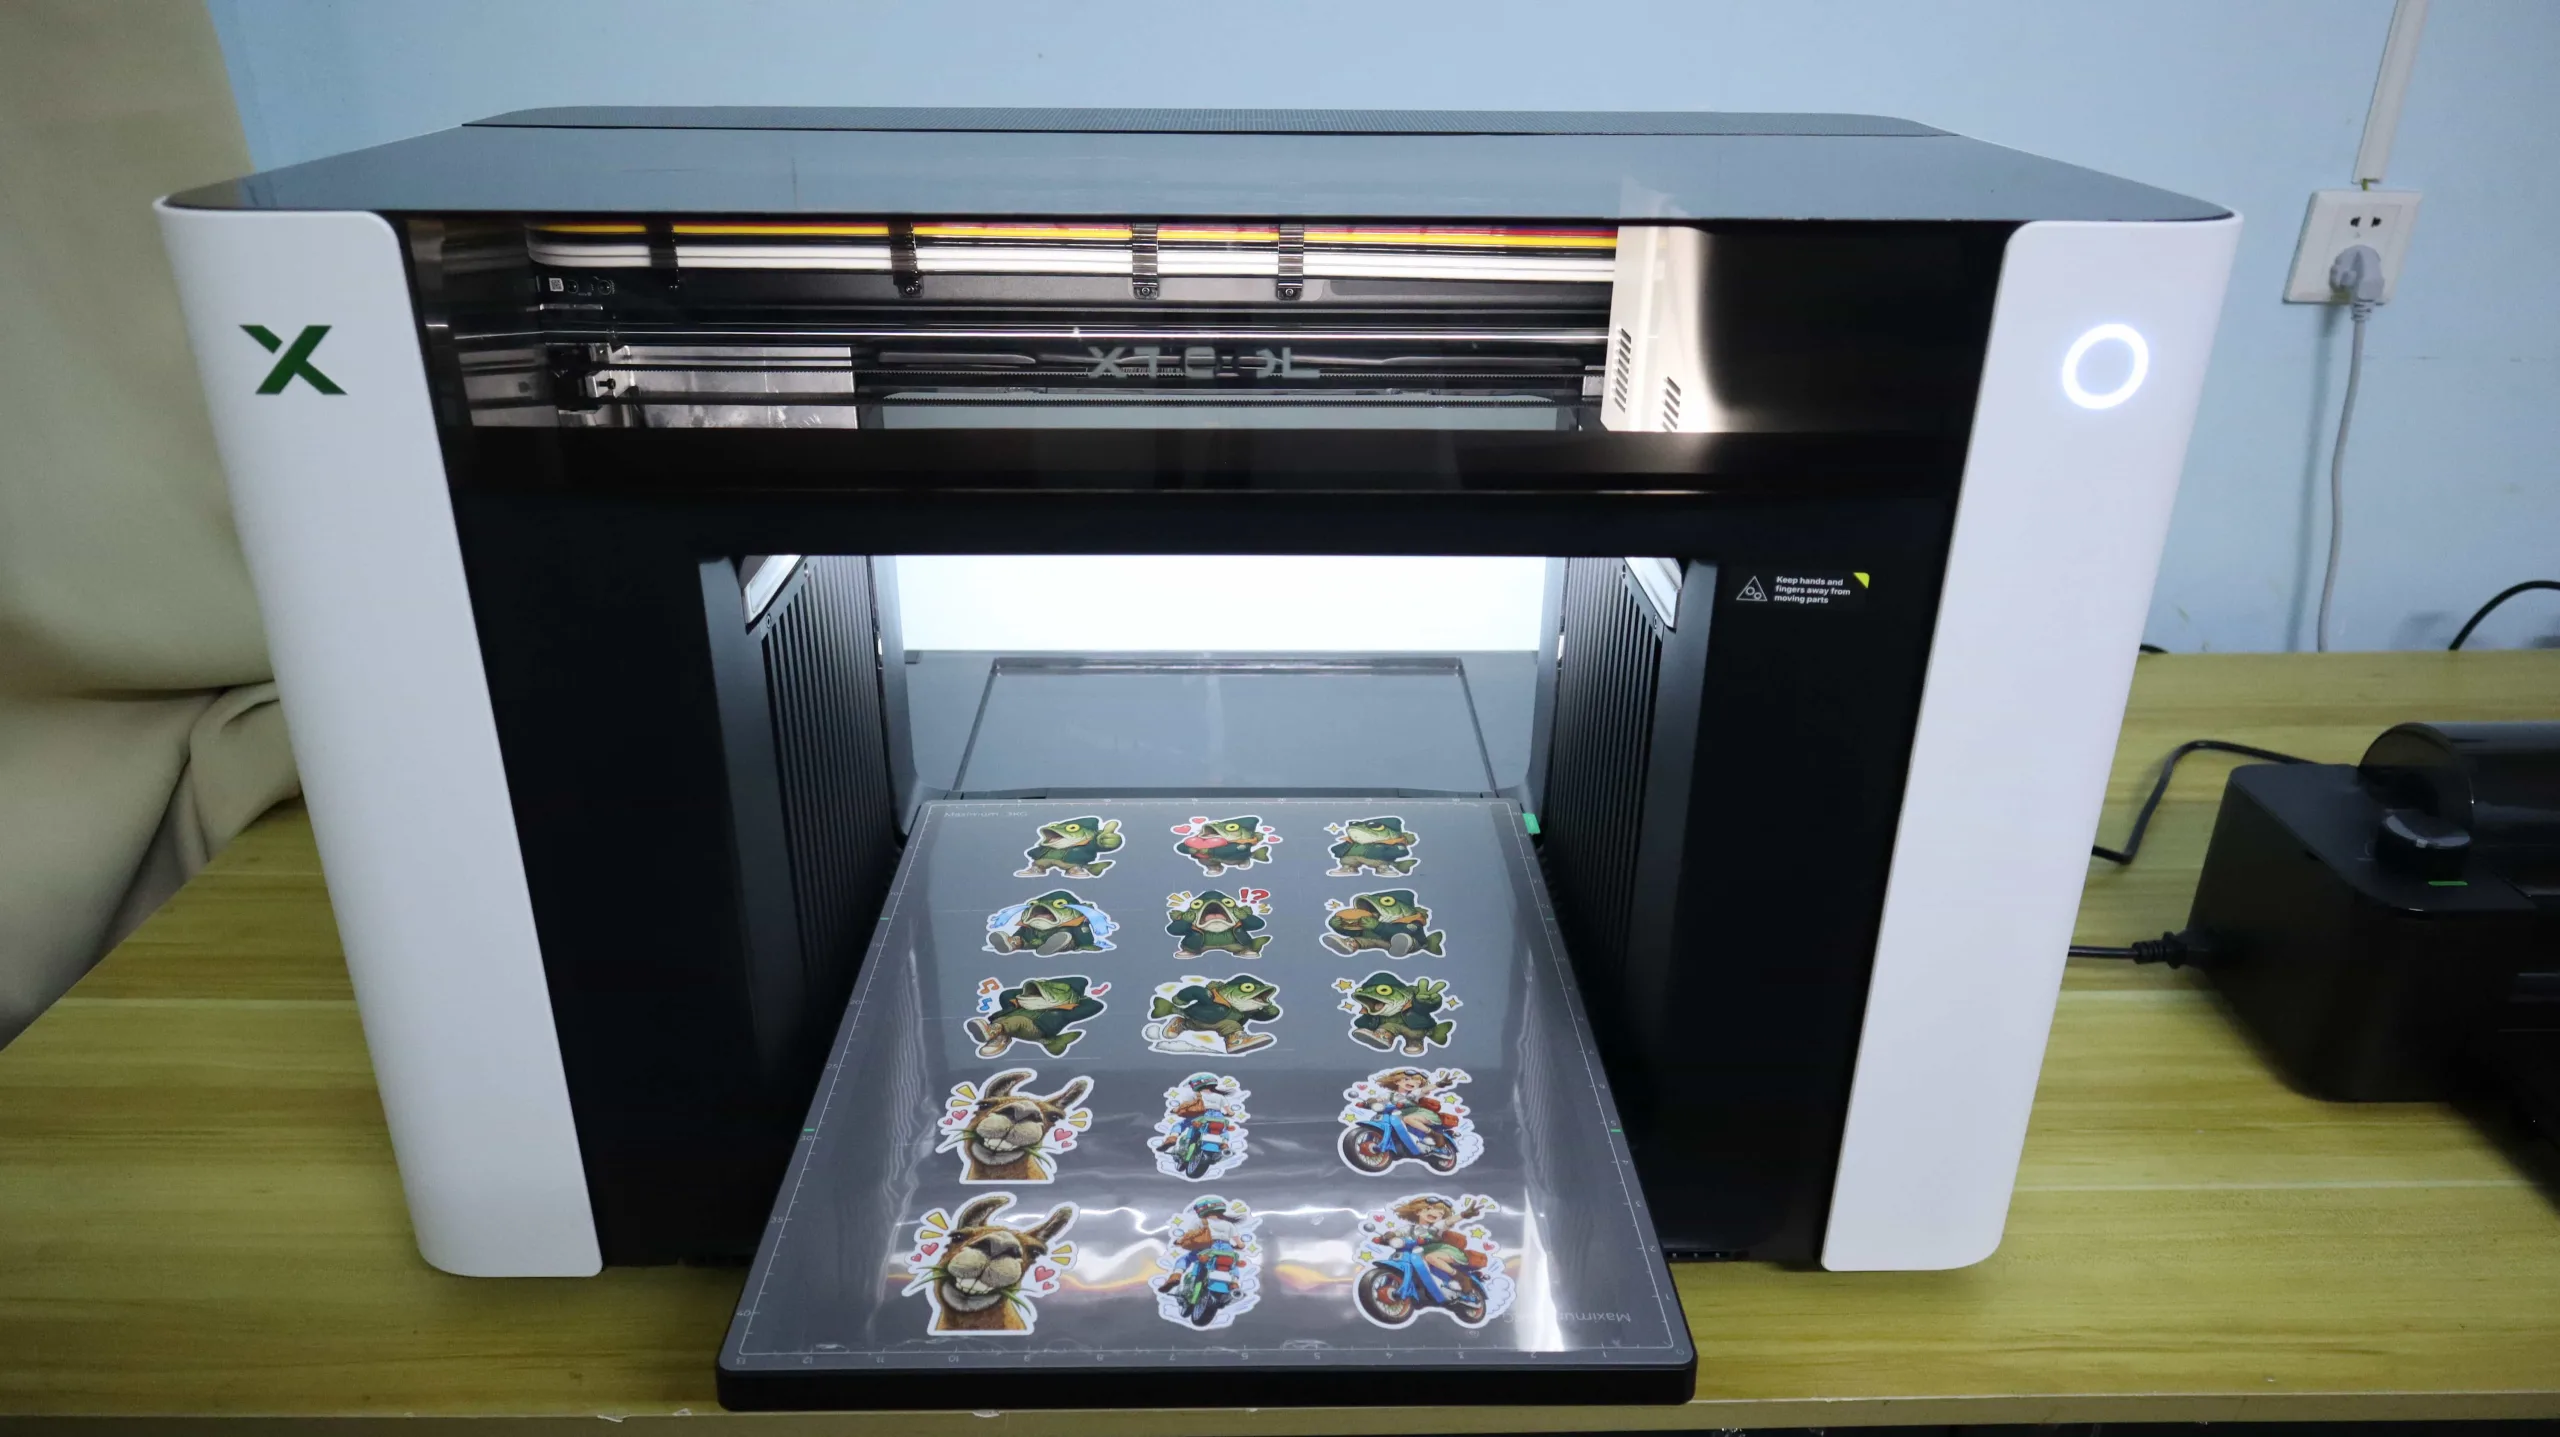
Introduction
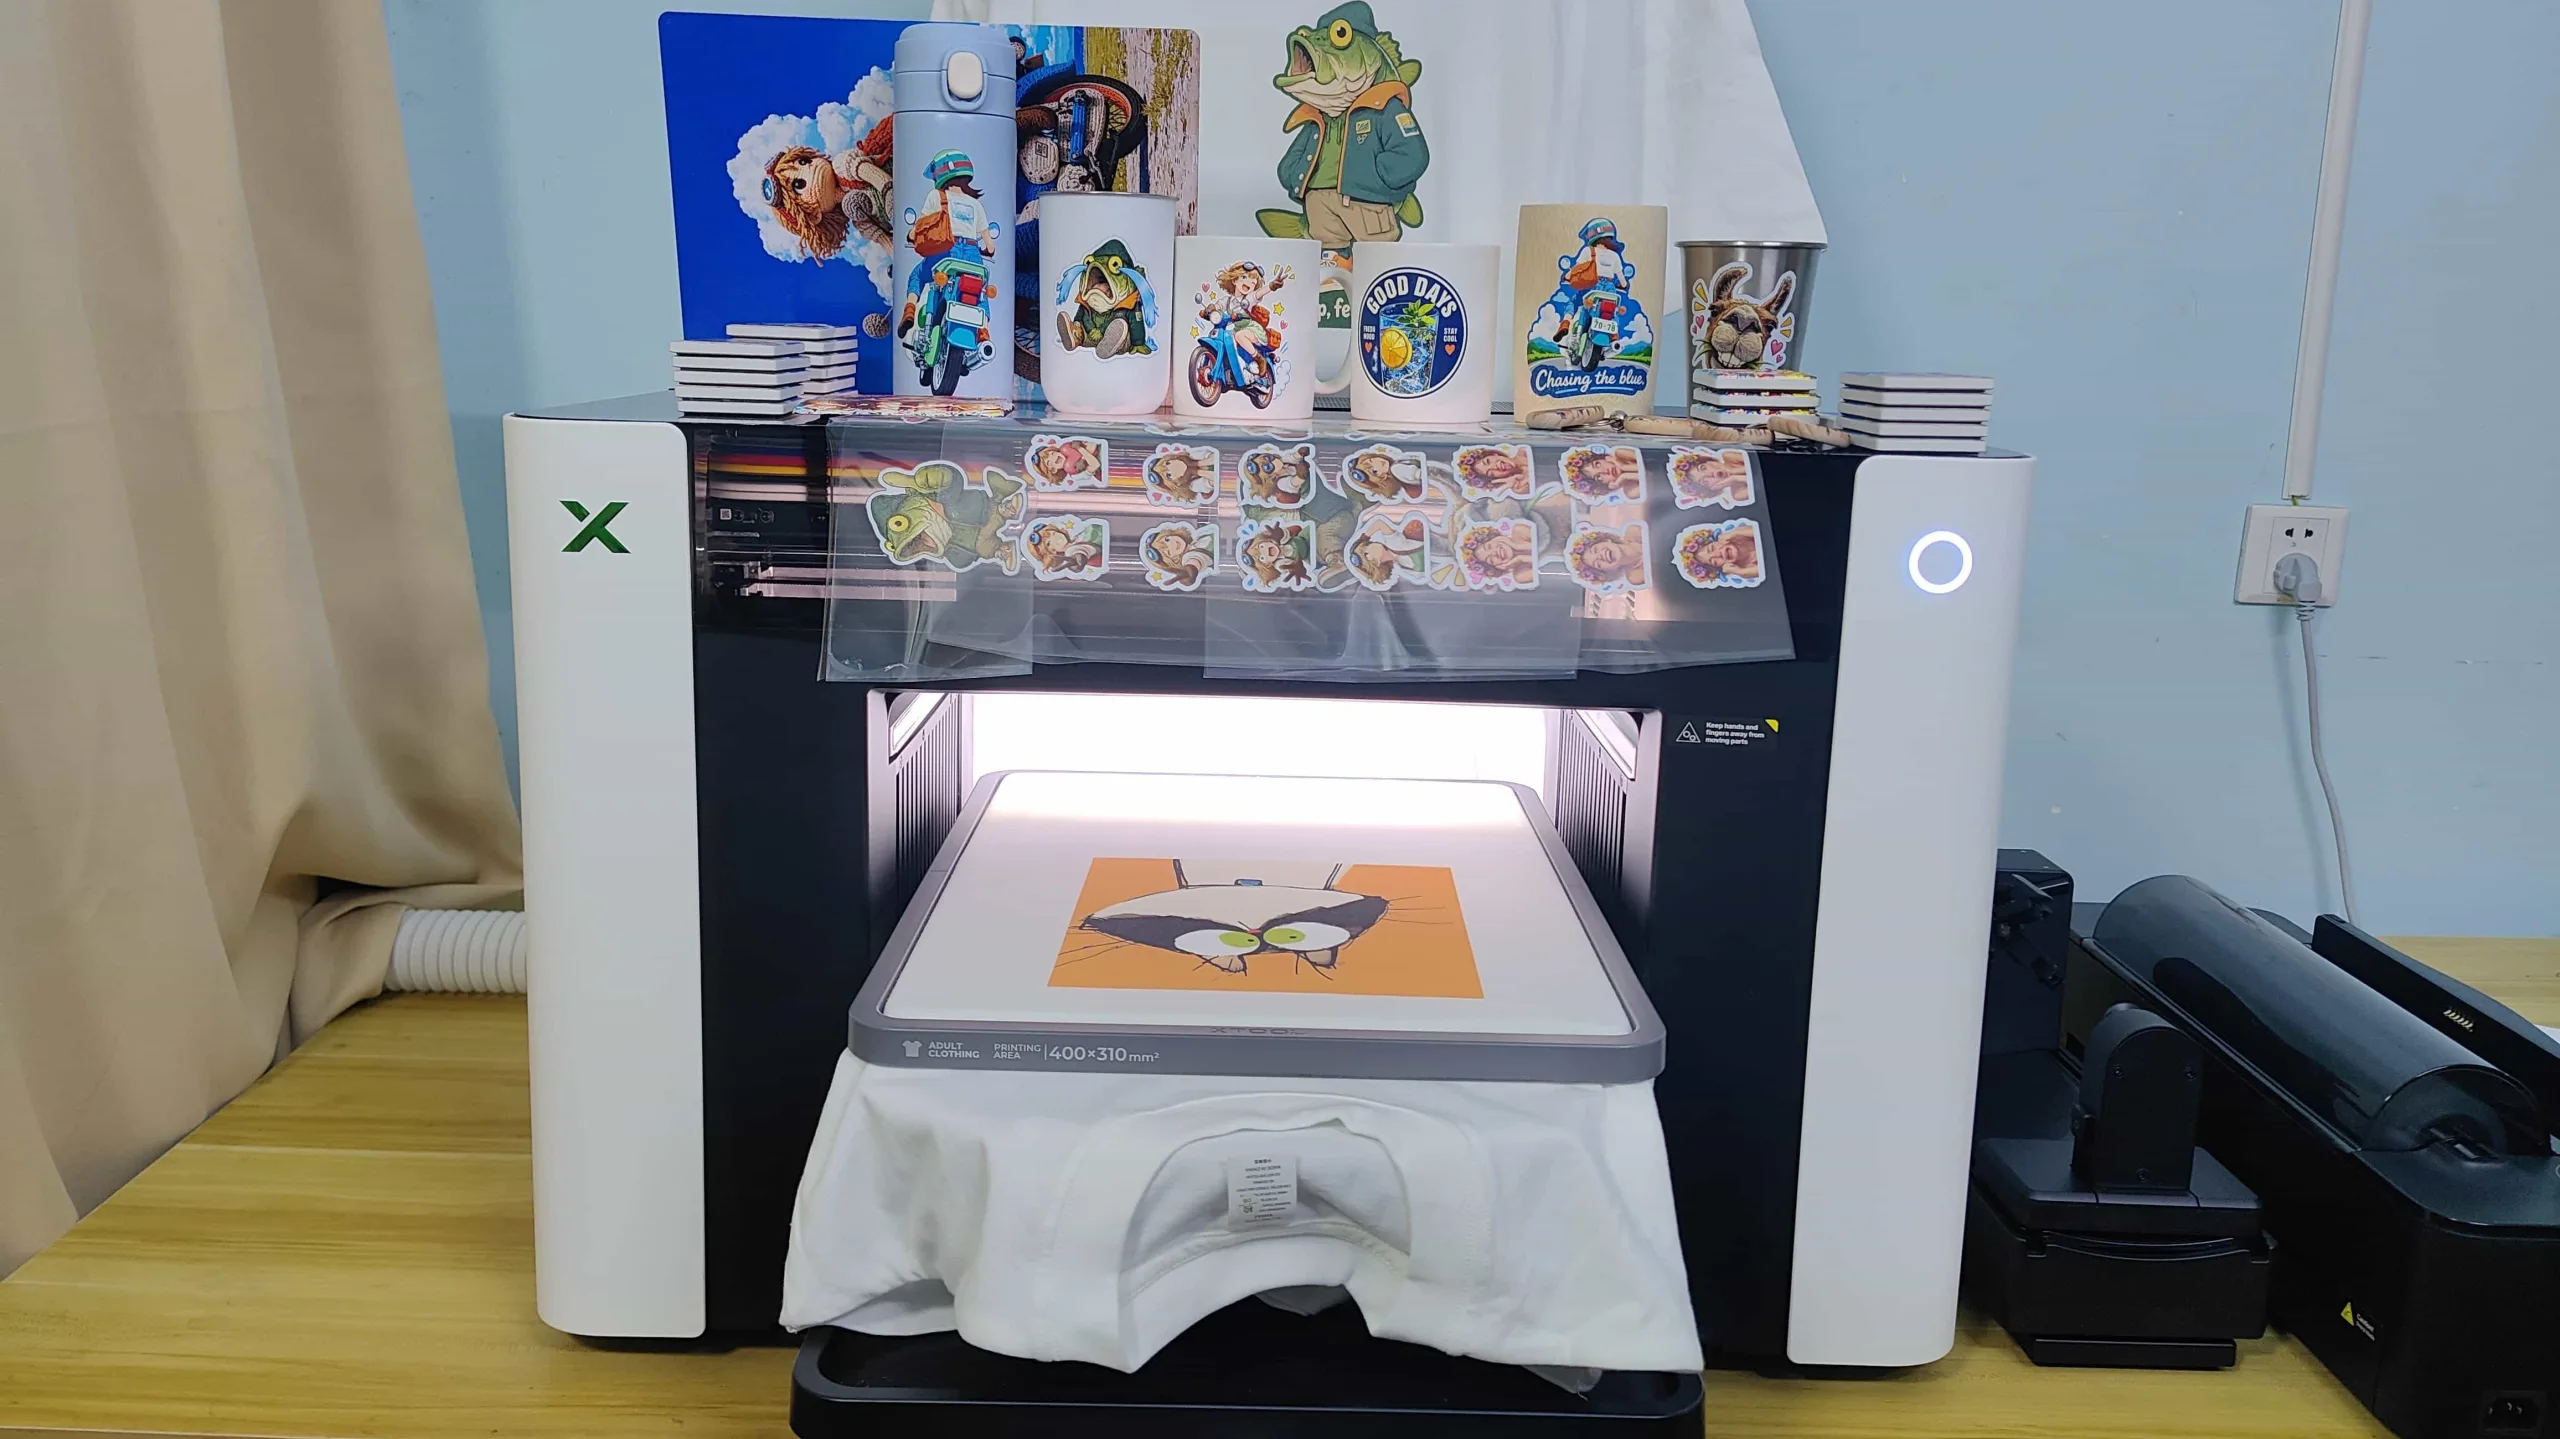
In our hands-on xTool O1 Omni Review, this powerhouse earned a 4.6/5 rating for good reason—it’s hands-down one of the most versatile 4-in-1 hybrid workstations for Etsy sellers and small business creators. By combining UV printing, direct-to-garment (DTG), DTF apparel transfers, and UV DTF sticker production into a single desktop footprint, it eliminates the need to buy multiple single-function machines.
While direct flatbed printing works magic on flat wooden boards or acrylic panels, custom business creators often hit a wall when trying to print onto irregular, curved, or oversized items like stainless steel tumblers, motorcycle helmets, or contoured mugs.
This is where UV DTF (Direct-to-Film) decals change the game.
By printing graphics onto a specialized transfer film (Film A) and laminating it with a protective cover (Film B) using the xTool LM1 laminator, you can create waterproof, scratch-resistant, 3D raised peel-and-stick decals for less than $0.01 per sticker. Best of all, these transfer stickers can be applied to virtually any hard surface.
In this step-by-step tutorial, we’ll walk you through the complete workflow of making professional-grade UV DTF stickers using the xTool O1 Omni UV printer and the xTool LM1 laminator, from initial setup to real-world application.

Step 1: Essential Tools & Materials for UV DTF Sticker Printing
Before diving into UV DTF sticker production, gathering the right hardware and specialized consumables is essential to ensure a smooth, bubble-free workflow.
To bring your UV stickers to life, you will need the following core items:
- xTool O1 Omni UV Printer: The powerhouse flatbed printer that handles high-resolution CMYK color and gloss varnish printing on your base film.
- xTool LM1 Laminator: An indispensable companion laminator designed to automatically laminate Film B over your printed graphics under optimal heat and pressure.
- Film A Sheets: The printable adhesive base layer where your high-gloss graphics are printed.
- Film B Rolls: The transfer cover film used during the lamination process. (Note: If you purchased the xTool LM1 laminator, the Film B rolls come bundled right along with it.)
- Finishing & Application Tools: You will also want a scraper for smoothing out air bubbles, a crochet hook (which is extremely handy for lifting and peeling away the release paper from Film A), and a pair of scissors or a paper cutter for trimming sheets down to size.

If you purchased the complete xTool LM1 Laminator companion package, the scraper, crochet hook, and paper cutter are conveniently included right out of the box, saving you from hunting down extra accessories.
Step 2: Prepping the xTool LM1 Laminator (Film B Threading & Preheating)
Before you begin printing your UV DTF stickers with the xTool O1 Omni, taking a few moments to prep the xTool LM1 laminator will ensure a smooth, professional workflow.

The LM1 is designed with a refreshingly intuitive layout. The control panel features just four essential buttons: on the left side, you will find the roller height adjustment knob, which is used to precisely set the gap distance between the rollers. On the right side, there are three primary buttons: the Cut button, the Feed/Rewind button, and the Heating button.
The Cut button allows you to trigger the built-in blade at the rear delivery slot to cleanly slice your film once lamination is complete. The Feed/Rewind button gives you manual control over the roller direction to feed or retract your materials, while the Heating button preheats the rollers to the ideal temperature needed to properly fuse Film B over Film A during your UV DTF transfer sticker workflow.


Threading Film B into the machine is straightforward using the built-in push plate. Start by laying Film B flat onto the front feeding tray, ensuring the edge of the film is completely parallel to the tray. Next, pull out the push plate from its storage slot, lay it flat on the front tray, and align its left and right edges parallel with both the film and the tray edge. Slowly push the plate forward. Once the film sensors on the front tray detect the material passing through, the rollers will automatically activate and pull the film into the machine.


Looking at the rear delivery slot of the laminator, you will see that Film B has successfully fed all the way through. At this point, simply press the Cut button to trim off the excess film, then slide the push plate back into its storage position. Your LM1 laminator setup for the UV DTF printing process is officially complete.


As a quick note on calibration, the default roller gap height is preset to zero, which is the ideal gap for standard film consumables. If you ever notice the gap isn’t set to zero, just twist the roller height adjustment knob to dial it in before starting your next batch of custom UV DTF decals.
Step 3: Understanding Film A & Laying It Flat on the xTool O1 Omni
Before your high-resolution custom UV DTF decals can come to life, you need to understand the unique anatomy of your material. Film A is not just a standard sheet of plastic; it features a carefully engineered 3-layer structure designed specifically for high-performance printing:
- Top Release Paper (The Thinnest Layer): The protective cover sheet that shields the sticky layer prior to printing.
- Middle Double-Sided Adhesive Layer: The core component that bonds your cured UV ink graphics to your target surface later on.
- Bottom Base Film: The stable backing carrier sheet that provides structural rigidity.
With a clear grasp of the material, preparation moves directly to the hardware. Carefully place and secure Film A flat onto the standard baseplate of the xTool O1 Omni UV printer, making sure that the release paper side (the thinnest layer) is facing upward. To ensure the flatbed vacuum or magnetic borders hold the sheet perfectly flat without shifting, make sure there are no air pockets underneath.

Next comes a critical step before sending your job to print: using your handy crochet hook, gently catch and lift a corner of the top release paper. Carefully peel this top protective layer away from Film A, completely exposing the sticky double-sided adhesive layer underneath. Take your time during this step to avoid accidentally lifting the base film. Once the release paper is fully removed, your Film A is prepped, sticky-side up, and fully ready for the high-definition UV flatbed printing workflow.
Step 4: xTool Studio Design Workflow & UV Printing
When it comes to bringing your custom UV DTF stickers to life, the entire production workflow is surprisingly streamlined and beginner-friendly.
Thanks to the Atomm online community, you have instant access to a rich built-in AI sticker generator where you can simply upload a reference image or type in a text prompt to rapidly spark endless creative sticker concepts.

Once your artwork is ready, jumping over to the xTool Studio software reveals an interface designed with a refreshingly simple, plug-and-play layout. The software automatically handles color management, underbase generation, and gloss layers without any complicated setup.

When you hit print, the efficiency and cost-effectiveness of the xTool O1 Omni UV printer truly shine on the flatbed. For instance, running a dense layout with an area of 232 by 397 mm takes about 38 minutes to produce 15 vibrant stickers, resulting in an exceptionally low ink consumption cost of just $0.44.

Alternatively, when you switch to a more compact layout sized at 255 by 332 mm, it takes roughly 42 minutes to churn out 42 individual custom stickers, dropping your ink cost down to a mere $0.23 per run. This incredible blend of AI-driven creativity, automated software precision, and ultra-low material costs makes professional sticker production both effortless and highly profitable.

Step 5: Heated Lamination & Final UV DTF Sticker Production
Once your high-resolution custom UV DTF decals have finished printing on the xTool O1 Omni, it is time to move on to the heated lamination phase. After heating the LM1 laminator. Carefully lift the freshly printed Film A from the flatbed and take it over to your prepped xTool LM1 laminator, making sure the roller height is calibrated and Film B is threaded properly through the machine.

Place your printed Film A flat onto the front feeding tray, ensuring that the sheet is kept straight and parallel to the leading edge of Film B. Simply guide the material gently forward until the built-in sensors detect the film and automatically grab the sheet, pulling it smoothly into the heated rollers. As the film passes through, the combination of optimal heat and even pressure fuses Film B over your printed UV graphics, instantly locking in the vibrant CMYK colors and protective gloss layers while transforming your artwork into a durable, ready-to-use transfer sheet.
Once the material feeds all the way through to the rear delivery slot, simply press the Cut button on the control panel to let the built-in blade cleanly slice your finished UV DTF sticker sheet away from the roll. Your professional-grade, 3D embossed custom stickers are now completely finished and ready for real-world application.

If you want to trim your transfer sheets down into smaller, more manageable decal sizes, you can easily do so using a pair of scissors or the convenient paper cutter that comes standard with the LM1 laminator package.
Step 6: Real-World Application (How to Apply UV DTF Stickers)
Before applying your newly crafted UV DTF transfer stickers to hard, irregular, or curved surfaces like stainless steel tumblers, mugs, or phone cases, proper surface preparation is key. Start by using an alcohol wipe to thoroughly clean the target area, removing all dust, fingerprints, and oils to guarantee maximum adhesion.

Next, use a pair of scissors to cut out your desired sticker design from the laminated sheet, and carefully peel away the bottom backing film. Align the sticker precisely onto your target object and press it down. Because these UV DTF decals feature a strong initial tack, use your fingers or a soft scraper to firmly press and smooth the design outward from the center, ensuring that all trapped air bubbles are completely pushed out and the edges are securely laid down.

Finally, grab a corner and slowly, carefully peel away the top protective cover film, known as Film B, at a sharp angle. As you lift it off, your vibrant, 3D embossed custom sticker will remain permanently and flawlessly transferred to the surface.

Troubleshooting & FAQs
Why are my UV DTF stickers not sticking properly or peeling off curved surfaces?
If your custom decals are lifting or failing to adhere to items like stainless steel tumblers or mugs, it is usually caused by inadequate surface preparation or insufficient pressure during application. Make sure you thoroughly clean the target substrate with an alcohol wipe to strip away all residual oils, dust, and fingerprints. When applying the decal, firmly use your fingers or a scraper from the center outward to eliminate air bubbles and ensure the adhesive completely bonds to the curves.
What causes bubbles or wrinkles during the xTool LM1 heated lamination process?
Lamination bubbles typically occur if Film A enters the xTool LM1 laminator at an angle or if there is trapped dust on the adhesive layer. Always ensure your printed Film A is fed completely straight and parallel to Film B on the front tray. Additionally, check that your roller height adjustment knob is accurately set to zero and that the machine has fully preheated before running your sheets.
Can I use standard laminators instead of the xTool LM1 for UV DTF sticker production?
While standard hot pouch laminators might apply heat, they lack the specialized tension control, built-in precision cutters, and custom roller gap calibrations required for thick UV DTF film consumables (Film A and Film B). Using the companion xTool LM1 ensures seamless automatic feeding, proper heat distribution, and clean, automated blade slicing without wasting material.
How durable are the finished UV DTF stickers against water and scratching?
Once properly laminated and transferred, UV DTF decals boast exceptional durability. The combination of cured CMYK UV inks and protective gloss varnish layers creates waterproof, scratch-resistant, and UV-resistant 3D raised stickers that hold up exceptionally well for daily-use products like water bottles, phone cases, and laptop lids.